This plugin allows merchants to add a field to the product page that customers can use to enter the square feet or cubic volume of their project and easily add the correct quantity of the product to the Cart. The plugin will be of interest to merchants that sell building materials, cleaning products, flooring, concrete products, fertilizer, paint, soil, tile, turf, warehouse racks, or any product whose description includes words such as, “…one unit will cover X…”
Works for any situation where the quantity of a product needed is determined by area or cubic volume.
Doesn’t create variants on the fly so that shipping methods, inventory levels, and other important functions aren’t compromised.
Immediately calculates the quantity of product needed based on the customer’s input making it easy to add the correct quantity to the Cart.
Current version: 2.0.6
Requirements
WooCommerce 5.7 or newer.
An API Key from Eniture Technology.
FAQs
Does the Quanity Calculator work for both imperial and metric units of measure?
Yes.
Will the Quantity Calculator handle a mix of units of measure?
The app will introduce a product settings field to record a number to be used as a divisor. As long as the divisor is relevant to the unit measure for the product, the quantity calculated will be correct. This can be different for each product.
Installation & User’s Guide
If you are taking advantage of a trial subscription, the plugin will stop working when the trial period ends. Be sure to read the Managing Your Eniture API Key section to learn how to upgrade your subscription.
Overview
Other information contained in this guide:
1. Register for the Eniture API Key |
Return to top. |
Click the Get a free 15 day trail button at the top of the page to register to use the plugin and gain access to the installation file. You don’t have to provide a credit card to gain access to the free trial. However, after the free trial period, the plugin will stop working until you upgrade to a paid subscription.
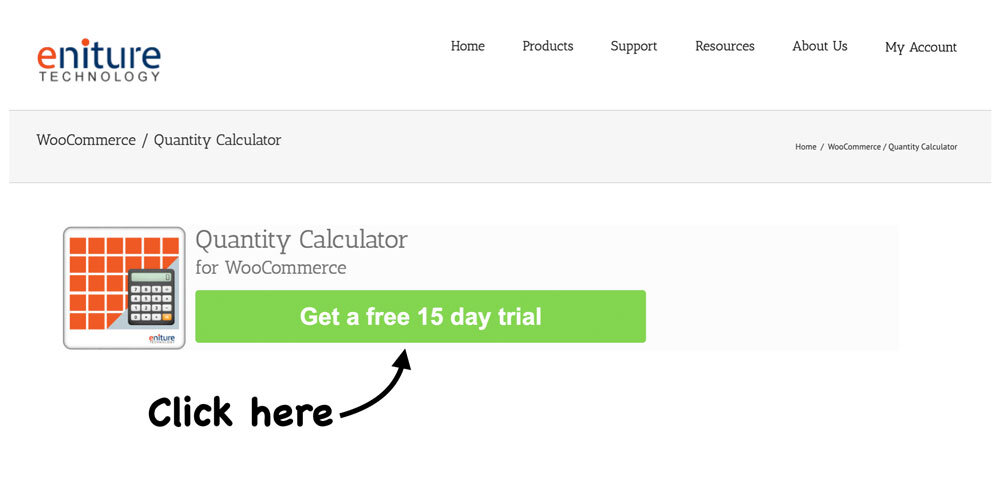
After you click the Get a free 15 day trail button, you’ll be presented with a registration form. The email address and password you enter will serve as your credentials to eniture.com. You’ll use these to gain access to the customer dashboard where you can download the plugin installation file, manage your Eniture API Key, and update your payment information.
If didn’t provide a credit card on the registration form, you’ll receive a verification email. To complete the registration process you will need follow the instructions in the email. Afterward you’ll gain access the customer dashboard. If you provide a credit card on the registration form, you’ll have immediate access to the customer dashboard.
After you register, you’ll receive an email containing your Eniture API Key. You can also retrieve your API key by signing in to eniture.com and clicking on the My API Keys tab.
2. Using the Eniture API Key |
Return to top. |
The Eniture API Key will work for one production site and one staging site. You entered the domain for the production site when you completed the registration form. You can change the production site domain or add/update a staging site anytime from the customer dashboard. To update the registered production or staging site, login to eniture.com and click on the My API Keys tab.
3. Retrieve the Installation File |
Return to top. |
If you downloaded the plugin installation file from the plugin directory on wordpress.org, you can skip this step.
While logged into eniture.com, click on the Downloads link in the navigation menu. Locate the plugin and then click the link to download the installation file. Save the file to a familiar location because you’ll need to navigate to it during the installation process.
4. Upload the Plugin Installation File |
Return to top. |
Login to the WordPress dashboard as the website administrator.
In the left sidebar, hover your mouse over the Plugins menu to display the sub-menu options.
Select Add New from the sub-menu options. The Add Plugins page will load.
At the top of the Add Plugins page, click on the Upload Plugin button.

Controls will appear in the middle of page that will allow you to choose and install the plugin application. Click the Choose File button, navigate to the location where you saved the installation file and select it.

Click the Install Now button.
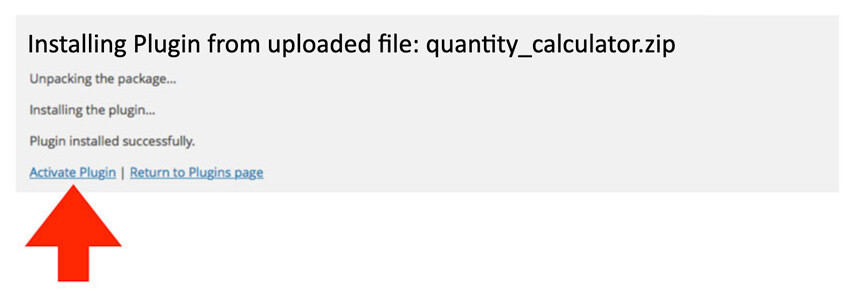
WordPress will display information about the installation progress at the bottom of the page. The plugin has been installed once the message Plugin installed successfully is displayed.
5. Activate the Plugin |
Return to top. |
Once the plugin has been installed, it must be activated. If you are still on the same page that you were on at the end of the previous step, you can click the Activate Plugin link on the bottom of the page.
If you’ve already navigated away from that page, select Installed Plugins from the Plugins menu.

Locate the Quantity Calculator for Woocommerce plugin on the list and click the Activate link.
6. Populate the plugin Settings page |
Return to top. |
Select Settings from the WooCommerce menu.
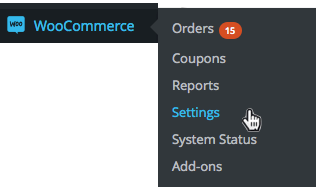
Click on the Quantity Calculator tab to gain access to the plugin configuration settings. Choose your settings using the instructions below.
| Eniture API Key | Enter the Eniture API Key you obtained from Eniture Technology. The Eniture API Key is issued by Eniture Technology to registered users only. When you registered to use the plugin, the API key was emailed to you. You can also retrieve your API key from the Customer Dashboard as described in the step, Register for the Eniture API Key, at the beginning of this guide. If you don’t have one, click the link next to this field to obtain one.
Related documents:
How To Obtain Your Eniture API Key |
| Display preference | Select the option where you want the input fields from the Quantity Calculator to display.
Before add to cart form
Placeholder Before add to cart quantity
Placeholder After add to cart quantity
Placeholder |
| Increase the project requirements field width by the following percentage: | Enter the value (e.g., 10) that represents the percentage increase you want to apply to the project requirements field. |
| Increase the Add to cart field width by the following percentage: | Enter the value (e.g., 10) that represents the percentage increase you want to apply to the add to cart quantity field. |
7. Define your product coverage data |
Return to top. |
Using the WordPress ADMIN menu, navigate to Products. Select a product that you want to enable the Quantity Calculator for. Scroll to the Product data section and choose the General option. Follow the instructions below:
| Enable Quantity Calculator | Check this box to enable the Quanity Calculator for this product. |
| Message / Instructions | Enter the text that you want your visitor to see as the input to the quantity calculator. Typically it will be something similar to “Enter the square feet of your project” or “What is the cubic volume requirements of your project? |
| Coverage input label | Enter the label that will be used to present this input field. |
| Coverage per unit | Enter the value that corresponds to what one box (or other container) of the product will satisfy. If a box of flooring material will cover 20 square feet, enter “20”. If a bucket of paint will cover 500 square feet of surface, enter “500”. If a sack of mulch/soil will cover 10 cubic yards at the recommended depth, enter “10”. |
| Minimum order quantity | If you require a minimum number of units for the product, enter it here. Visitors who attempt to purchase less than the minimum will receive an alert that the minimum has not been met. Leave the setting blank if no minimum is required. You should inform the visitor of any minimum order requirement in the Message / Instructions. |
| Maximum order quantity | If you limit the number of units of the product that can be purchased in a single sale, enter it here. Visitors who attempt to purchase more than the maximum will receive an alert that the maximum has been exceeded. Leave the setting blank if no maximum is enforced.e less than the minimum will receive an alert that the minimum has not been met. Leave the setting blank if no minimum is required. You should inform the visitor of any maximum order restriction in the Message / Instructions. |
What Your Customer Sees |
Return to top. |
What your customer sees and the user experience will depend on the settings chosen in the plugin. The following screenshot shows the product page of a representative product with the following settings enabled (partial list provided):
- Position the project requirements field before the Add to cart form.
- Increase the project requirements field width by 50%.
- Message / Instructions: Enter the square feet of your project
- Coverage input level: Square feet.
- Coverage per unit: 15.5
- Put the: Containers (e.g., boxes, cans, other) in the cart
- Square feet: 200
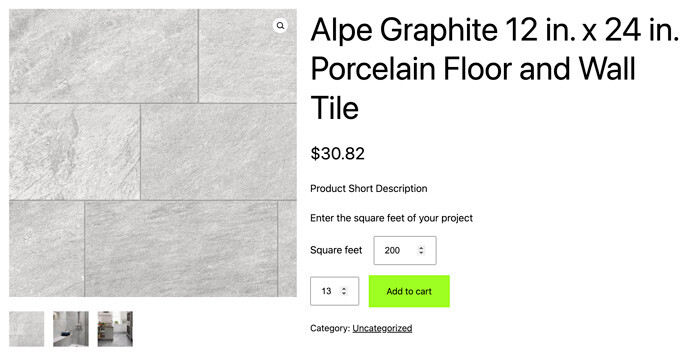
In this case the number of boxes of product required to cover 200 square feet is 12.9. The plugin rounded the result up to 13 (the next integer). When the customer clicks the Add to cart button, a quantity of 13 boxes will be added to the Cart.
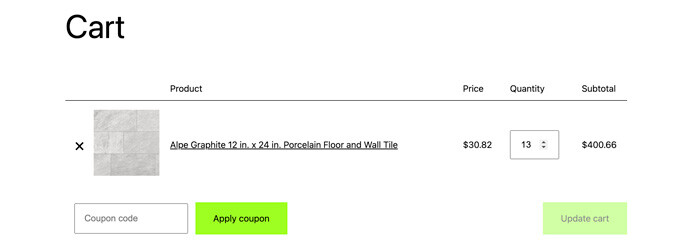
The plugin can also be configured to add the unit of measure to the cart. For example, if you price your items by the square foot instead of by the container (e.g., box) the plugin can put the number of square feet the containers can cover in the Cart instead of the number of containers.
You can also use the settings in the plugin to set minimum and maximum order quantities.
Managing Your Eniture API Key |
Return to top. |
You can manage your Eniture API Key by signing into eniture.com with the email address and password you entered when you registered for the plugin. After you sign in, My Account will be added to the navigation menu. Click on it to access the Dashboard for your account.

Use the links below to navigate to documents in the knowledge base related to common topics of interest.

