
Effective June 1, 2026, FedEx changed its API credential authorization process. Even if you obtained FedEx API credentials using the previous process, you will need to complete the new authorization process to continue to use the FedEx API to connect to your FedEx account. The instructions below are for the new FedEx API authorization process.
These instructions explain how to connect a FedEx parcel account to the Real Time Shipping Quotes plugin for WooCommerce (Multi-Carrier Edition). You must have a FedEx account and be logged in to your WordPress dashboard with permission to manage WooCommerce settings.
To update an existing FedEx connection, select Providers in the plugin’s navigation menu and click the Connection settings link for the account.
Connecting your FedEx account is accomplished using the following steps:
- Select the API endpoint.
- Accept FedEx’s End User License Agreement (EULA).
- Enter the FedEx account information.
- Complete the Multi-factor Authentication (MFA) process.
- Test the API connection.
1. Select the API Endpoint. |
Select Settings from the WooCommerce menu, open the Real Time Shipping Quotes tab, and select Providers in the plugin’s navigation menu.
Find FedEx under All Providers and click Add account. The Connect Provider window opens.
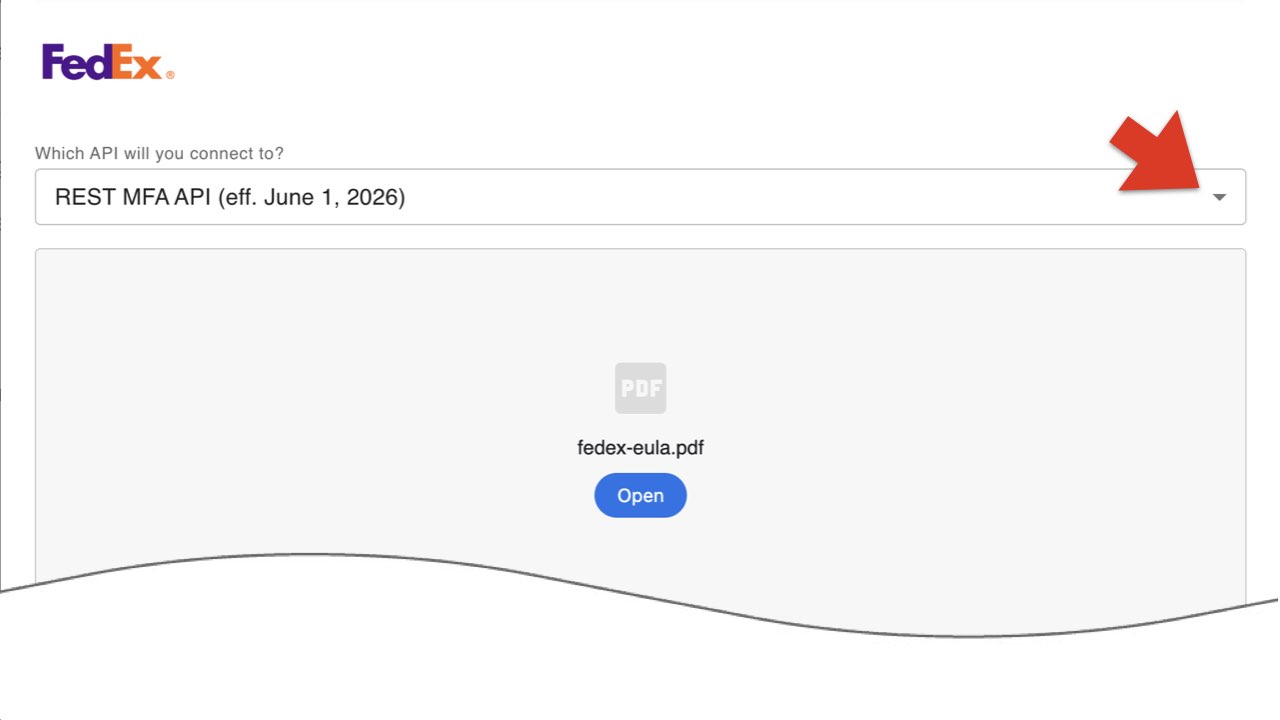
For the Which API will you connect to? setting, select REST MFA API (eff. June 1, 2026). If it is already selected, leave it selected. After June 1, 2026, this is the only option supported by FedEx.
Continue to Step 2 to review and accept the FedEx End User License Agreement (EULA).
2. Accept FedEx’s End User License Agreement (EULA). |
Allow the EULA panel in the Connect Provider window to load. Depending on your browser, the agreement may appear as a PDF with an Open button, as shown below.
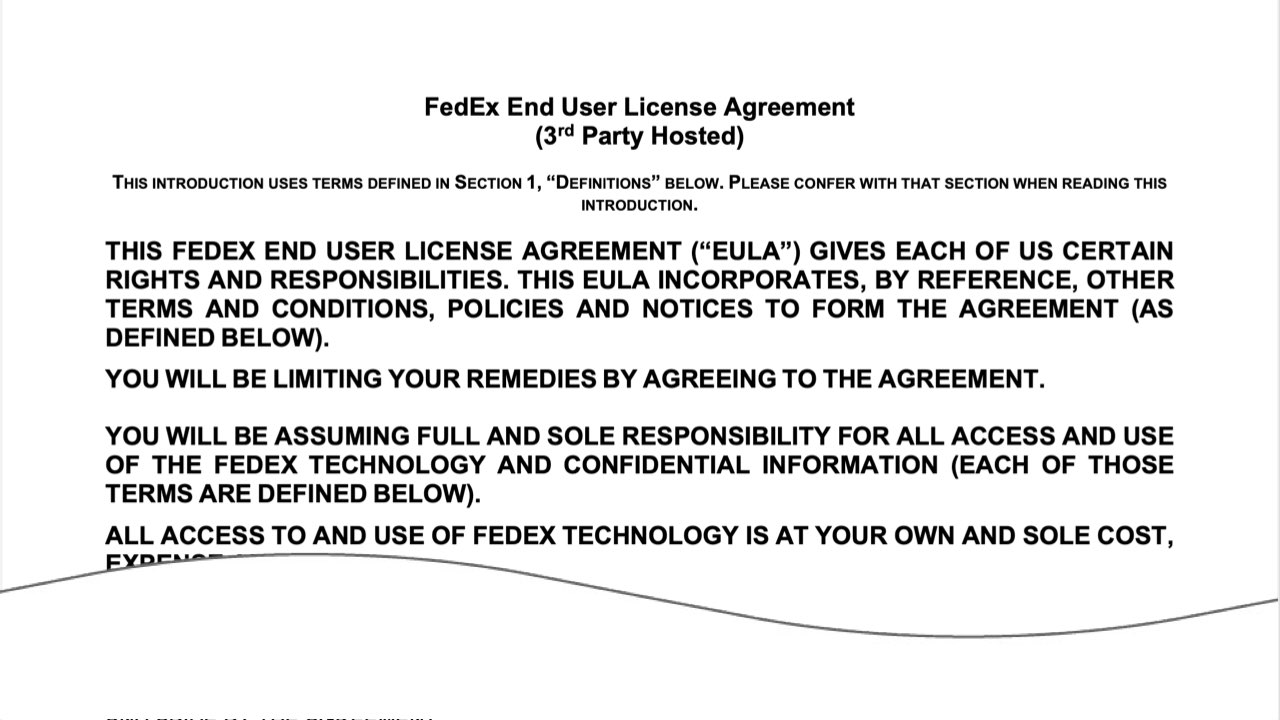
Read FedEx’s End User License Agreement (EULA). If the panel displays an Open button, click it to access the agreement. Your browser may download the PDF or open it separately. The image below shows the opening section of the agreement.
After reviewing the agreement, return to the Connect Provider window. Scroll inside the EULA panel all the way to the bottom. The I have read and agree to the FedEx End User License Agreement… checkbox remains unavailable until you reach the bottom of the panel, even if you have already opened or downloaded the PDF. If the panel appears blank, you still need to scroll inside it to the bottom. Scrolling the surrounding page does not complete this step.
Select the agreement checkbox to confirm your acceptance and authority to accept the agreement, then click NEXT. The window will display the FedEx account information fields described in Step 3.
3. Enter the FedEx account information. |
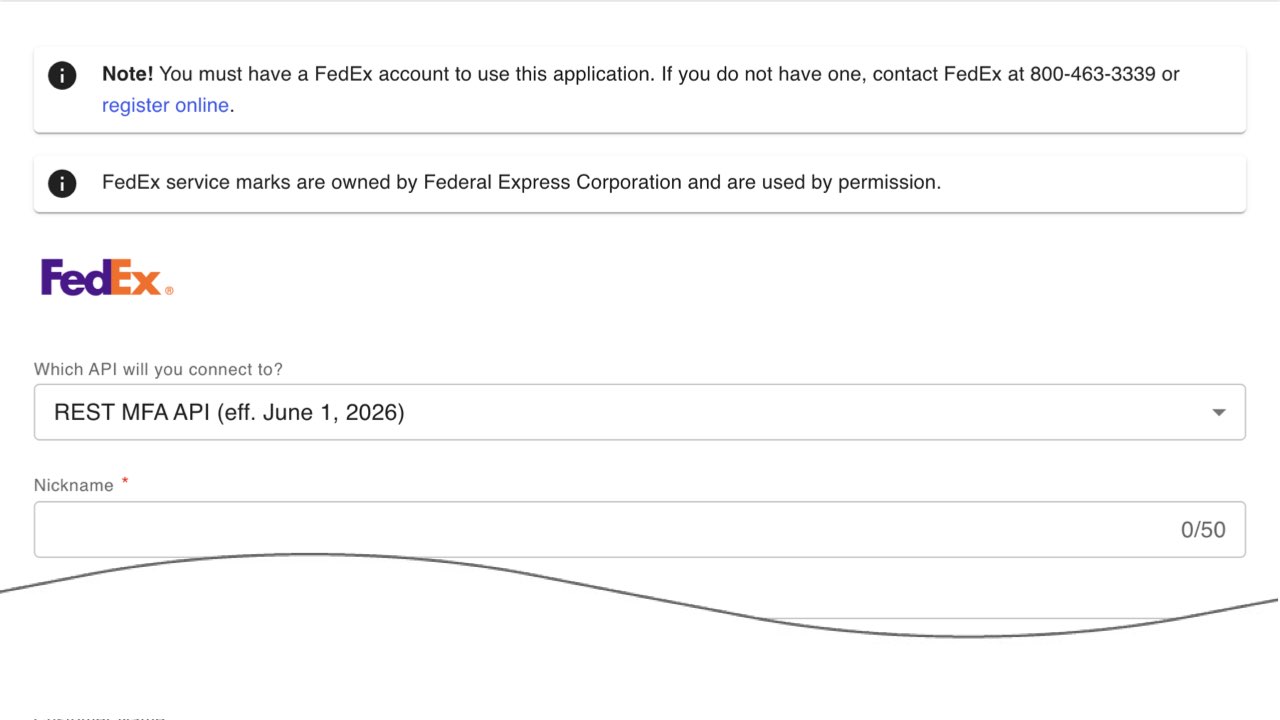
Enter your account information as described below. Scroll inside the Connect Provider window to reach the remaining fields.
| Which API will you connect to? | The REST MFA API (eff. June 1, 2026) should be selected already. After June 1, 2026, this is the only option supported by FedEx. |
| Nickname | Enter a nickname to use for the connection. It is for your use only and will not be visible to visitors to your store. |
| FedEx Account Number | Enter the FedEx account number. |
| Customer Name | Enter the customer name associated with the FedEx account as it appears in FedEx’s records. |
| Residential Address? | Select Yes if the address associated with your FedEx account is residential. Otherwise, select No. This setting describes your FedEx account address, not your customer’s delivery address. |
| Street Line 1 | Enter the account’s street address exactly as it appears in FedEx’s system, including capitalization and abbreviations. If the street address doesn’t match FedEx’s records exactly, the API credentialing process will fail. |
| Street Line 2 | Enter any additional address information, such as an apartment or suite number, as it appears in FedEx’s records. Leave this optional field blank if it does not apply. |
| City | Enter the account’s city name exactly as it appears in FedEx’s system, including capitalization and abbreviations. If the city name doesn’t match FedEx’s records exactly, the API credentialing process will fail. |
| State | Using uppercase letters, enter the two character abbreviation for the address’s state or province. For example, enter “GA” for Georgia, or “ON” for Ontario. |
| Postal Code | Enter the postal code for the address. Enter the five digit postal code for U.S. addresses. Canadian address postal codes should be entered without the space between the third and fourth positions. |
| Country | Select the country from the drop down list. |
After entering your account information, scroll to the bottom of the Connect Provider window and click NEXT to continue.
4. Complete the Multi-factor Authentication (MFA) process. |
Choose how you’d like to perform the multi-factor authentication process. There are two methods to choose from:
- Secure code validation – FedEx will provide a PIN for validation by SMS, email, or phone call according to your selected preference. Proceed to step 4a if you prefer this method.
- Invoice validation – FedEx will validate your account based on information obtained from a recent invoice. Proceed to step 4b if you prefer this method.
4a. Secure code validation. |
Choose one of the following for the delivery method for the secure code PIN:
- SMS – FedEx will text a PIN to the phone number registered for the account.
- Email – FedEx will email a PIN to the email address registered for the account.
- Phone call – FedEx will provide a PIN by calling the phone number registered for the account.
4b. Invoice validation. |
- Invoice number
- Invoice date
- Invoice amount
- Currency
Afterward, click the Validate button at the bottom of the page.
5. Test the API Connection. |
Reconnect a FedEx Account. |
On occasion, it may be necessary to re-establish the connection to the FedEx API. This may happen due to a change made to the account information in FedEx’s system, such as the physical address, or another reason that causes the Test Connection operation to fail. The Test Connection operation is executed by clicking the Test Connection button in the FedEx connection window. To reconnect your FedEx account, click the Reconnect button. You’ll be redirected to the page that collects your account information. Make any corrections necessary. Click NEXT to advance to the multi-factor authentication (MFA) step.
Complete the MFA step. Refer to the section previously provided about how to complete the MFA process for instructions.
After completing the MFA process, click the Test Connection button to confirm that the account has been successfully reconnected to the FedEx API.